BlackArchのインストール

BlackArchとは
Arch Linuxを基盤とした、セキュリティ関連toolもりもりのディストリビューション。公式のページにはPenetration Testing Distributionと記載されている。over 2000 toolsらしい。
インストール手順
1.公式サイトからisoかovaをダウンロードする(ovaは割愛)
https://blackarch.org/downloads.html
2.いつもの感じでVMを起動する
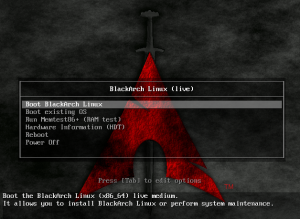
Boot BlackArch Linux を選択
- ctrl + alt + F2でCUIモードに移行してインストールを開始する
# blackarch-install
と入力する。
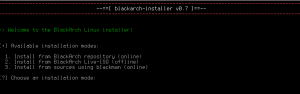
するとこんな感じでインストールの案内が始まる。
今回はisoからインストールを行うので2を入力する。

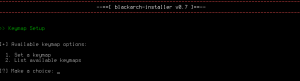
次にKeymapのSetupを行う。1を入力してus keyならus、jp keyならjp-109を入力。(各種キーボードに合わせて設定)
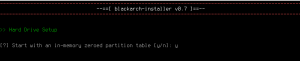
Hard DriveのSetup。とくに何もいじらずにVMを作成していればsdaしかないはずなのでsdaと入力。
インストールするdriveを選択すると、root,boot,swapのパーティションを分けるかどうか聞かれる。yesを選択。

メモリ内のゼロパーティションテーブルから始めるかどうか。yesを選択。
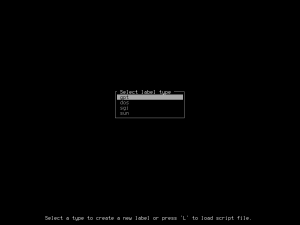
label typeを聞かれる。dosを選択。
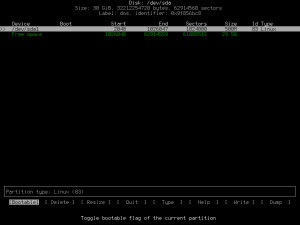
ここから各パーティションを作成していく。
まずはboot用のパーティションを作成する。Newを押しPartition sizeを入力する。(公式が500Mなので500Mとした)
また、Bootableを選択してenter。
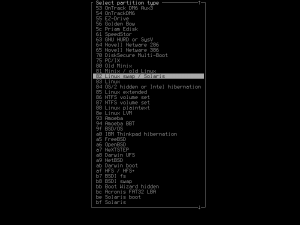
次にswap用パーティションを作成する。Free space からNewを選択して、partition sizeを入力する。(sizeは使用するメモリ等に合わせて設定)
typeからパーティションtypeをLinux swap / Solarisに変更する。
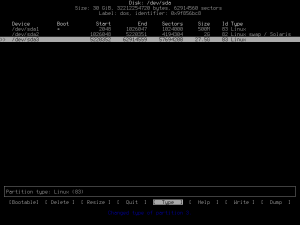
余ったFree spaceでsda3を作成する。
Writeを選択して作業を確定する。Quitで終了する。
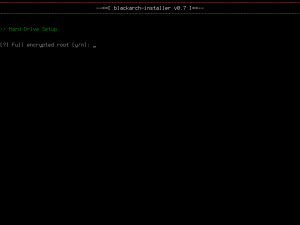
LUKSでルートパーティションを暗号化するか聞かれる。お好みで。
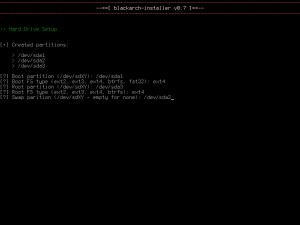
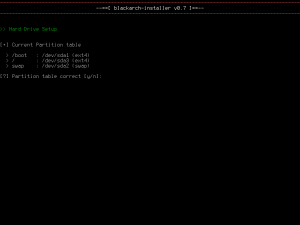
Boot partitionを聞かれる。もちろん最初に作成したsda1がrootパーティションなので**/dev/sda1**と入力。細々とパーティションについて聞かれるので設定したとおりに入力する。
作業に間違いがないか確認されるので、間違いがなければyを入力する。
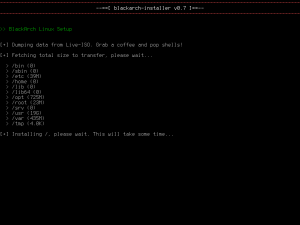
installが始まるのでしばらく待つ。
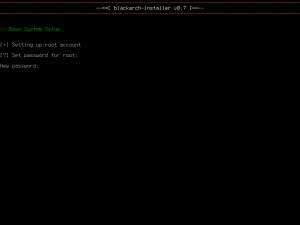
完了すると、基本的な設定が始まる。
rootのパスワード等を設定する。
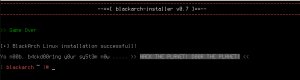
Game Overと表示されたらinstall終了。
ネットワークの設定
こちらのサイトが参考になりました。